Skip to main contentIntegrating Duckie with Discord
Setup Instructions
1. Choose Discord as the workspace
- Go to app.duckie.ai and click “Add Duckie”.
- Click “Choose a workspace” and select Discord
- An “Authorize Discord” modal will appear. Click “Continue to Discord”.
Authorize Duckie on Your Discord Server
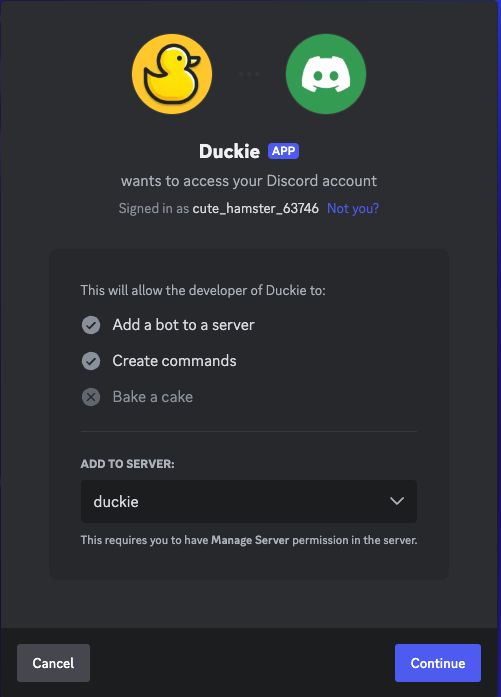
- Add Duckie to your server and click “Continue”.

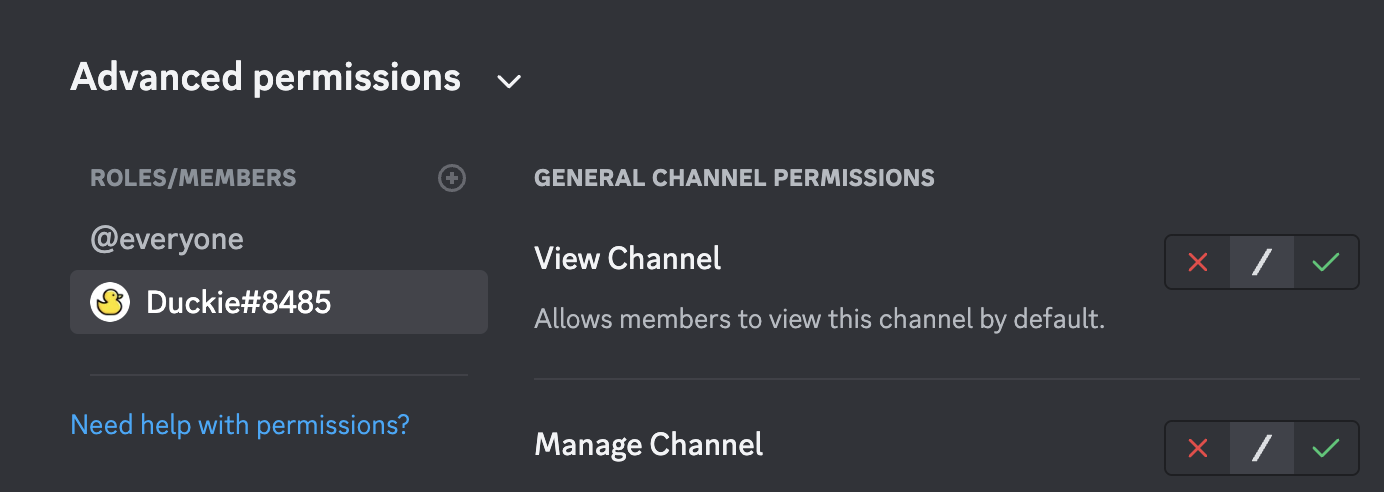
- Select the channel you want Duckie to respond in.Go to channel settings, and give Duckie the necessary permissions (Read Messages, Send Messages, Read Message History).
 Follow Setup & Configuration instructions to configure Duckie’s response behavior.
- If you toggle “Auto-respond” on, Duckie will reply to all messages automatically.
- If you toggle “Auto-respond” off, Duckie will only reply to messages that are tagged with “@duckie”.
Follow Connect Knowledge Sources and Connect Agent Tools instructions to connect Duckie to your knowledge sources and agent tools.
5. Finalize Setup
- Click “Create”.
- Duckie will start processing the knowledge sources (30 mins - 2 hours).
- You’ll receive a notification via email once Duckie is ready to go!
Escalation
If Duckie cannot resolve a question, it will DM the Primary contact in Slack and provide a summary of the conversation so far.
Feedback
- For each response generated, there’s a thumbs up/down and feedback button.
- If you are not satisfied with Duckie’s response, please provide written feedback, and Duckie will learn from it and revise its response in the future. (It works very well, so please please give Duckie as much feedback as possible!)
FAQ
How do I add Duckie to multiple channels?
- If these agents have the same knowledge source configurations, you can duplicate the agent in the webapp, and
- Select a new channel under “Workspace”
- Grant Duckie the necessary permissions to that channel
- If the agents follow very different configurations, you will need to create a new agent instance in the webappfor each channel.


