Skip to main contentSetup Steps
Check out this loom video for a complete walkthrough (3 min).
- Go to app.duckie.ai and click “Add Duckie”.
- Click “Choose a workspace” and select Widget
Follow Setup & Configuration instructions to configure Duckie’s response behavior.
For the Widget workspace, you can only toggle “Auto-respond” on.
3. Choose the website
In Domain, type in the URL of the website you want Duckie to embed on.
Follow Connect Knowledge Sources and Connect Agent Tools instructions to connect Duckie to your knowledge sources and agent tools.
5. Finalize Setup
- Click “Create”.
- Duckie will start processing the knowledge sources (30 mins - 2 hours).
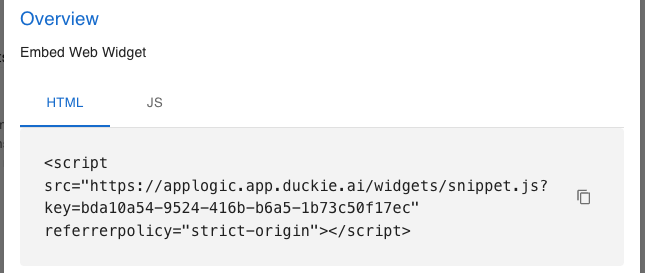
Click on your newly created agent, you will see the integration code generated. You will find two code snippets, and you can choose either one to paste in your website’s code (inside the <head> or at the end of the <body> tag of your HTML file):
- HTML Code
- JavaScript Code
7. Duckie is ready!
After knowledge sources are processed, you will receive a notification via email once Duckie is ready to go!
FAQ
You can embed the Widget on your website by pasting the integration code in the <head> section of your website.
How do I edit a Duckie agent’s configuration?
You can edit the agent’s configuration in the webapp by clicking on the agent’s card.